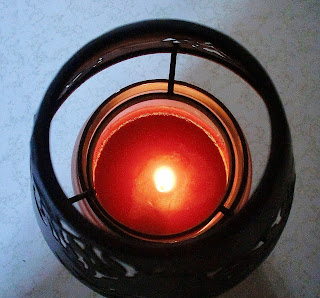
No man, when he hath lighted a candle, putteth it in a secret place, neither under a bushel, but on a candlestick, that they which come in may see the light. Luke 11:33
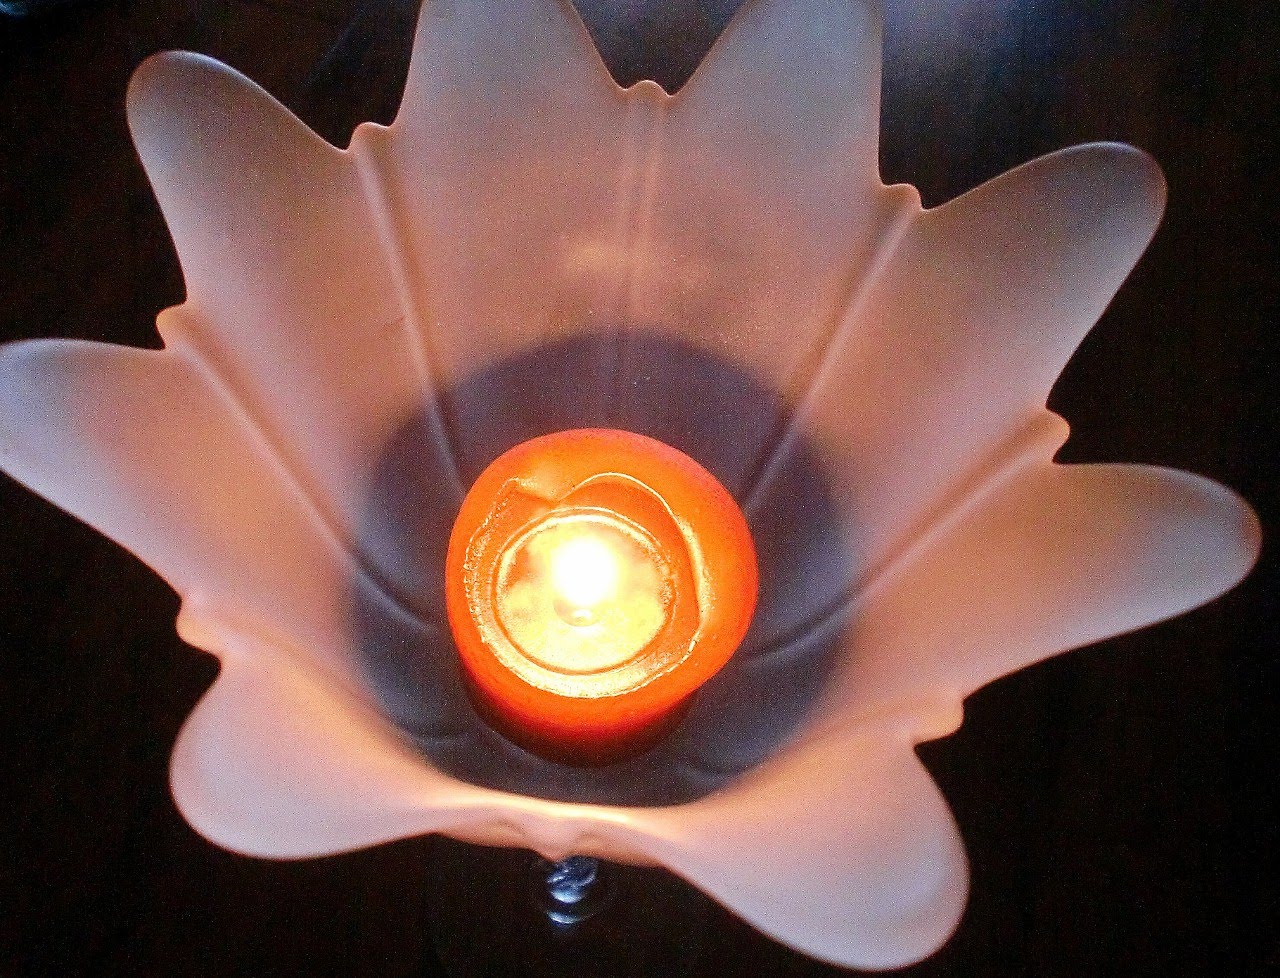
If we all removed the bushel and let our light shine, imagine what a bright world this would be!
Ye are the light of the world. A city that is set on an hill cannot be hid. Matthew 5:14
We're having so much fun putting together goodie bags and door prizes for our upcoming ladies retreat at the church. So many of our ladies have donated craft supplies, decorations, time and energy to treat our visitors to an amazing time. These keychains are just one of the gifts some of the attendees will find in their bags. All you need to make them are a variety of beads, some fairly thin yet sturdy cord and a jump ring. Cut a length of cord, fold it in half and string it through the jump ring. String matching beads on both sides. And tie it off with a double knot. So simple, yet so pretty. Here's another variation: Cut a length of cord, fold it in half and thread it through a jump ring. Tie one or two beads on one side and tie it off with a knot. Make the other side longer with additional letters and beads before tying it off. Make a variety of lengths, colors, patterns and phrases so no two are alike.
This card table recover project has been on my to-do list for months. I've been using it as my workspace in the craft room for quite some time, and it sees a lot of abuse. Here it is now, with a neutral cover on it so I can take better pictures for my tutorials. There were dents and dings in the old blue covering from metal tools. And yes, I've used my embossing heat tool on it several times, leaving pretty good scars. The padding underneath the blue cover also made it difficult to keep paper crafts flat when adhering them together, so it was time for something new. That's where a simple vinyl tablecloth comes in handy. The process to recover the table is pretty simple, but I learned a couple of lessons the hard way. I share them with you now. First, don't do this on any surface but a carpet. I tried it on the deck int he sunshine to get better pictures, but all it did was tear up the cover. Second, get a second pair of hands to help you kee
I'm so excited to share my words of faith planner layout with you today! Not only do I think it turned out absolutely beautiful, I challenged myself to do something completely different and fun so I could get out of my creative block. The challenge, as I chose to accept it, was to use one sheet of planner stickers and one roll of washi tape to create an entire spread. I used this Happy Planner set and a washi from Illustrated Faith. They look so pretty together, don't they? I started by tearing off small pieces of washi tape and randomly scattering it around both pages. Then I laid out the largest stickers first, then layered each piece of washi with the smaller ones. I needed a few more embellishments, so I went through the same sticker book and chose some of the small banners and gold dots that coordinate with the metallic writing on the large stickers. So this week I'll see many of my favorite words every day: faith, hope, love, grace, peace, glory, strong, amen and g
Comments
Post a Comment