Gift Bag Toppers For Bags Of All Sizes
Our youth group is through the first two chapters of Genesis in our chronological study of the Bible. We started on January 1 in Sunday School, and it's only taken four weeks to get through two chapters - there was a lot to unpack there! In just a few weeks (fingers crossed), we'll be ready to study Noah and dig deep into his faith in God, his perseverance to preach and his desire to be obedient no matter what. The kids' gifts for that day are these adorable erasers in a bag with a gift topper.
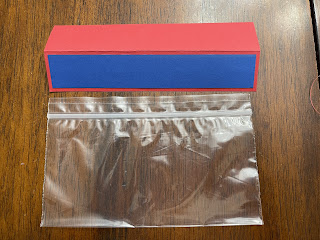
There is a super simple way to make treat bag toppers of any size, and here's how I do it. I start with a plain piece of card stock and make a cut mark slightly wider than the top of the baggie. Then I make a second mark far enough above the top of the baggie to fold it over. Then off to the paper trimmer I go!
Once the card stock is folded in half, I use the same marking technique to mat a second color inside. That's the basic start for any bag topper I need.
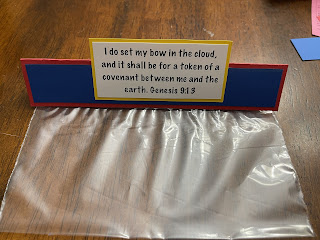
For this topper and the lesson of Noah, and since I was putting rainbows in the bags, I chose the verse from Genesis 9 about the meaning behind the rainbow. I formatted it in my word processing program and printed it on card stock. Then I cut them and matted them on a third color of card stock.
I like double stick tape when I'm using all card stock, so it has tape at the bottom and in the middle of the verse so there's no sticky tape above the bag topper itself. Quick hint from someone who knows.
Then comes the fun part - as if that wasn't enough fun - filling the bag and decorating the topper. I used some acrylic dots, but you could use stickers, stamps, gems or just about any other embellishment you have. What special events do you have coming up that could use a really great gift bag with a handmade topper?


Comments
Post a Comment